Showing posts with label modern finish. Show all posts

Thursday, November 9, 2017

Venetian Gem & Aquawax: Why you should make this match


Looking for a stylish, durable and cost effect finish for your clients?  Please consider the pairing of


Venetian Gem and Aquawax!

Why does this pairing work so well?  Venetian Gem comes in many versatile colors and the consistency gives it great coverage and build.  Aquawax is easily tinted with a variety of Faux Effects products giving you a large range of color options. Here are a few ideas for inspiration:

The lead photograph is a beautiful bathroom in a traditional home. The base is Ultra-polishing Venetian Gem Tint Base left un-tinted. It is also used for the faded damask pattern.  Aquawax was mixed with Caterpillar Gold Metal Glow and Luna White Metal Glow and troweled over the Venetian Gem.


In this darker option, the base is Venetian Gem in Tiger's Eye. The Aquawax is mixed with Sunburst Gold Metal Glow and Toasted Coconut Metal Glow. This is a favorite finish for ceilings paired with oil-rubbed light fixtures.

Here is a similar finish in a cool silver version.  The Venetian Gem is Black Onyx and the Metal Glow colors are Pewter Gold and Wheat mixed with Aquawax.


In the above finish the Venetian Gem Black Onyx is applied with a sea sponge roller. It is then flattened with a trowel creating a texture that gives good coverage to bad walls or orange peel. Aquawax is mixed with Bronze Stain & Seal and Silver Stain & Seal then troweled at the same time over the Venetian Gem.


Verdigris is a classic finish. Our finish starts with Sage Venetian Gem.  The Aquawax is mixed with Faux Effects Light Green and the Blue Green Verdigris Faux Crème Colors. While troweling in the Verdigris colors, we add in some Aquawax mixed with Bronze Faux Crème Color. 


Another interpretation of Verdigris starts with Brown Sapphire Venetian Gem.  The Aquawax is mixed with Turquoise Faux Color, Bronze and Gold Metallic Faux Crème Colors.


We love Moonstone Grey Venetian Plaster-perfect mix of grey and brown, The finish above is Moonstone Grey with Aquawax mixed with Pearl Mica Powder troweled on top.  


The modern fireplace surround is White Venetian Gem Plaster. For the marbled effect we mixed Silver Mica Powder and Pearl Mica Powder with Aquawax. 

A few of these finishes are glazed. This is another advantage to our pairing of Aquawax and Venetian Gem-it is easy to glaze! The shiny and well sealed surface allows you glaze mixes to glide over the surface. Sometimes the glaze will appear to "bead"-that's OK-just pad it out. It will stick.  I recommend this type of finish for large ceilings.

Hope this post gives you several ideas for using Venetian Gem with Aquawax! I know with the holidays the crunch is on and these are all quick and lovely transformations.

And don't forget the November Sale-just in time to get projects wrapped for the season! 


Wax on.....

Rebecca 


Tuesday, November 7, 2017

Two-Step Tuesday: Pearly Woven Venetian Gem


Did you know that you may achieve a beautiful finish is just a few steps? How about 2 layers?
Let us show you how.

Today's 2-step Finish is presented by Sheri Zeman


Hello Sheri! 

Sheri is the owner of FAUX DESIGN STUDIO located in Chicago.  FAUX DESIGN STUDIO is a Faux Effects Gold Label Training and Retail studio offering a comprehensive schedule of classes, her own line of stencils, specialty tools and both Gold & Silver Label Faux Effects Finishing Products.


And here is her Two-Step Finish: 

What you need:

Venetian Gem Basecoat which is a creamy plaster that may be tinted or left un-tinted. A gallon covers about 200 square feet depending on application thickness. It dries to a matte opaque finish.

Pearl Setcoat.  A gallon covers about 400 square feet. This will dry to a metallic finish. As with most pearls, the material is a little more sheer by nature. 

A Twine Roller.  This is a specialty chamois roller you may purchase from Sheri's studio. Contact information to buy one follows the recipe.


And it comes in a baby version for tight spots! How cute and practical is this? 


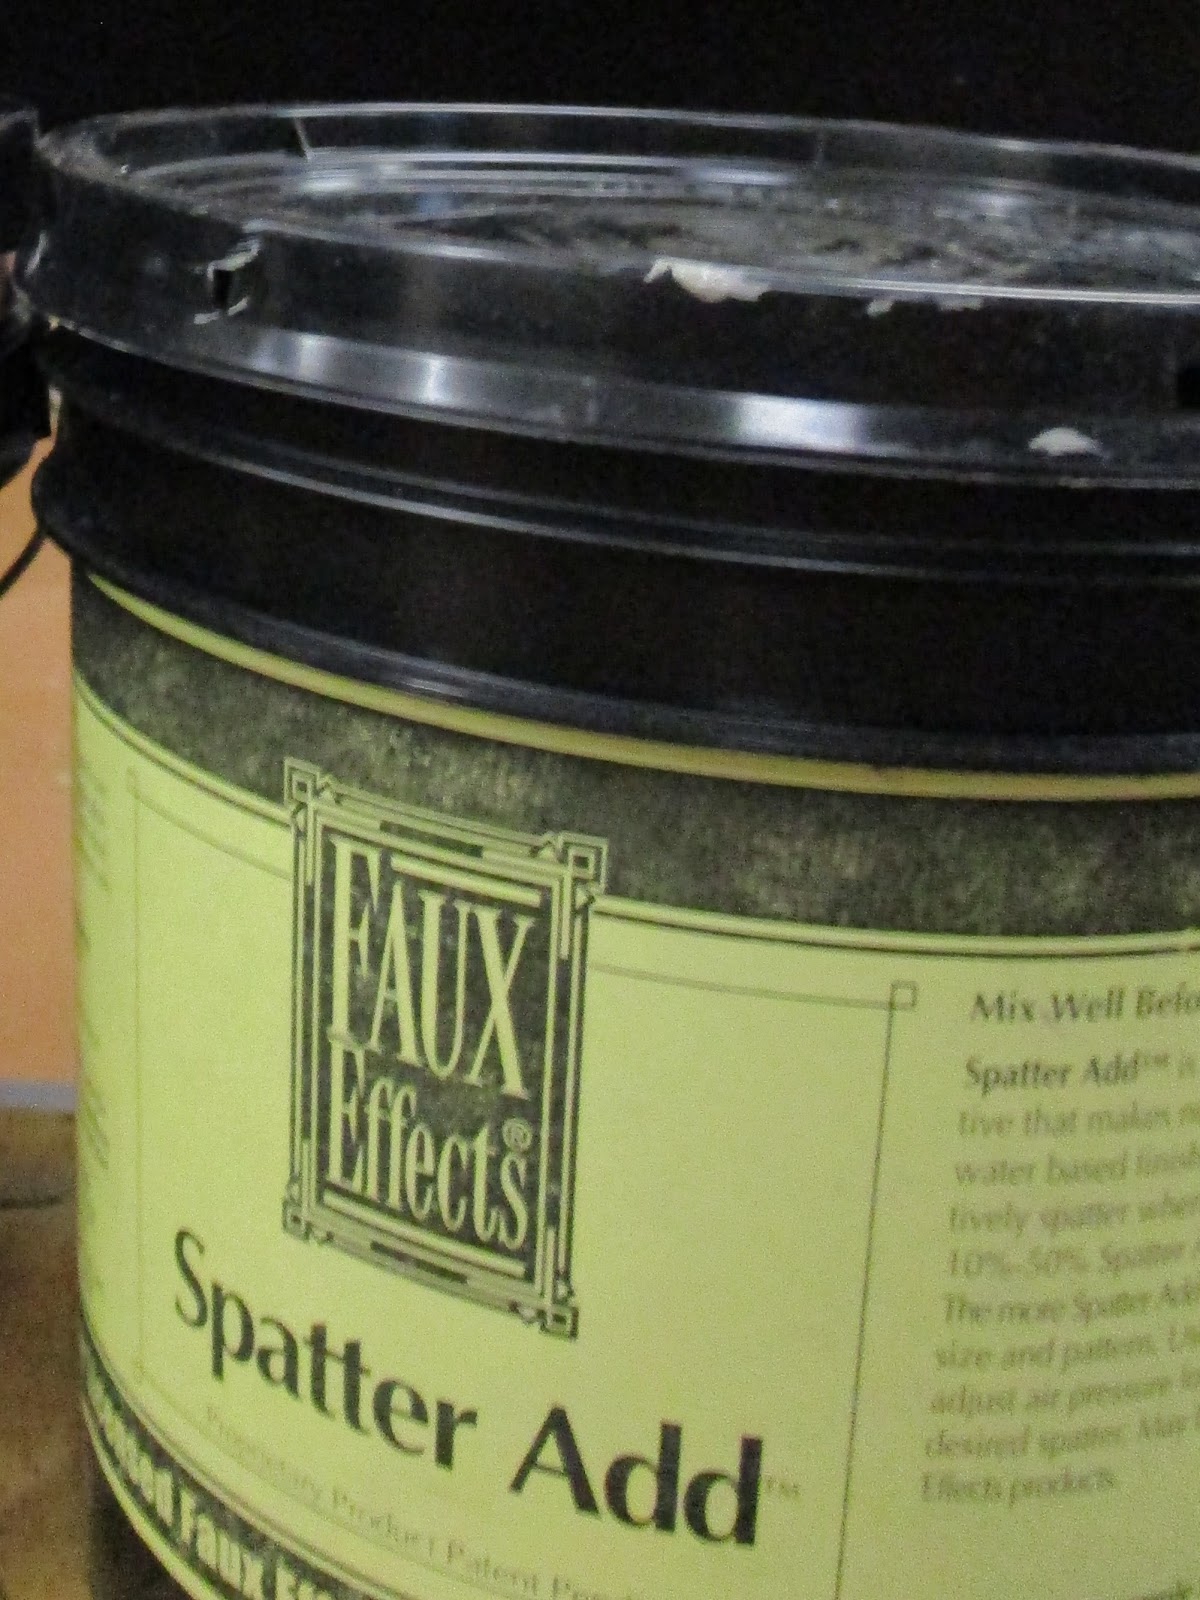
Now, the next thing is something I am going to suggest: Spatter Add!


This is an additive product from Faux Effects and one I always use when I need to shape plasters. It will thicken the plaster which makes it easier for the roller to go thru cleanly leaving a more sharp pattern.  Spatter Add also works to slow the plaster's set time.  This gives you more time to trowel your plaster and then roll through with your specialty roller (or a specialty trowel), I find I get about 40 extra minutes! Bonus-your tools should be easier to clean!

Other supplies: Plaster Application Trowel, Japan Blades or Putty Knife, Paint Rollers, Brushes, Paint Pan and Rags.

How you apply it:  You want your base to be clean and sealed with a good quality eggshell paint. When in doubt of the base, use Setcoat to start. That adds a step- hey, it's our music but your dance! Always make a sample using your selected base before attempting a job.

1. Mix 1 gallon of Venetian Gem Basecoat + 1/2 Cup Spatter Add and stir to blend.  Use a smaller blade like a Japan Blade to butter a larger application trowel with the plaster. Trowel a band of plaster from the top to the bottom of your wall for a standard 8 foot wall.  If the wall is taller, you may apply this finish in sections.  Apply a width double the width of the roller.  Gentle trowel lines are fine.

For thickness, You don't want to see the background through the plaster.  If you roll with the Twine roller and the pattern looks "spikey" then the material is too thick. Don't worry. Just go over that area to spread the plaster more-the Spatter Add will give you more time.  Practice on the least noticeable wall to get the feel.

2.  You will use the Twine roller and roll through the wet plaster vertically and then horizontally. Keep a damp cloth to wipe off the roller as you work. The pattern is random so it is easy to stop and start.  Trowel your next area of Venetian Gem Basecoat and repeat the rolling process,

3.  When the Venetian Gem Basecoat is dry, roll a layer of Pearl Setcoat over the top.  I like a thicker nap paint roller for metallic Setcoat to off-load product and minimize smearing.


WOW! Doesn't this look sharp?  What I love about this finish is the easy variations you may try.  Wouldn't this look great exchanging the Pearl Setcoat for Metallic Black Setcoat (or any metallic Metal Glow). Or you could change the specialty roller. Here are a few rollers that Sheri also sells;

Imagine this in Metallic Kroc

or 

A Kross-Hatch

This finish would also be a great base for a pattern. Now you are adding more steps but hey, like I said before-this is your dance! And some of us really like to boogie.


Want to find out more Sheri's studio, classes, stencils and rollers?  Check out her websites:

www.fauxdesignstudio.com  or www.paintanddesignstore.com
Phone:  630-627-1001

And don't forget that November is the perfect month to try Venetian Gem Basecoat or any Venetian Gem product.


This sale is available at your local Faux Effects retail studio or at www.fauxfx.com

Thanks Sheri Zeman for sharing a great recipe!

Have a finish with Venetian Gem (or any other Faux Effects Product) you would like to share? Contact me at: rebecca@fauxfx.com and let's talk.

Now where may I put this finish?.......

Rebecca