Let's get back to the bath. My next project in this guest bath is the vanity cabinet. It started out as your typical stained and varnished red oak. This piece had turned turned very red-orange-like self tanner!
I cleaned the surface with TSP, did a light sand with 220 grit paper, and wiped it off with a damp cloth. Next I used a Stain-blocking primer. Setcoat is not a stain-blocker. In the past 6 months, we have noticed a change in the reaction between pigmented shellac and Setcoat. The shellac is not curing enough to the substrate and turns gummy when the Setcoat is applied. This happens in less then 10% of jobs but is enough for us to be concerned. I have successfully used both Zinsser Water-Based Matte Primer and Bin 1,2,3, Water-based Primer under my Setcoat. For this project, I used the Matte Primer and could apply my next coat within an hour.
I rolled and brushed the primer. It didn't need to be pretty because my next coat is a low texture.
I tint Master Finishing Medium with Dark Brown Setcoat and stipple it with plastic. MFM is a gold label product that we use for several purposes and introduce in our Cabinetry I class. It makes a very hard but low relief texture. MFM sands well to remove rough tips-you want furniture, even those with a texture, to feel smooth.
I rolled an additional layer of Setcoat because I wanted the color to be solid. The Primer, MFM, and additional Setcoat layers may be applied in the same day. If you are unsure about bonding, always do a light sand between coats. On day 2, I rolled Wunda Size 100% over the surface and let it tack up over an hour. The foil will off-load better if the size sets up longer. I applied a new color of foil, pale gold, 100% over the surface. Since there is a texture, you will still some the brown under the foil.
The great thing about foil is you may apply your next layer immediately. I brushed Silver Faux Metal 100% over the foil and rubbed it down with cheesecloth so I could still the gold foil underneath. The Faux Metal should dry overnight.
The next morning, I sanded with a fine sanding block to reveal more of the gold foil and the Dark Brown Setcoat on the highs of the texture.
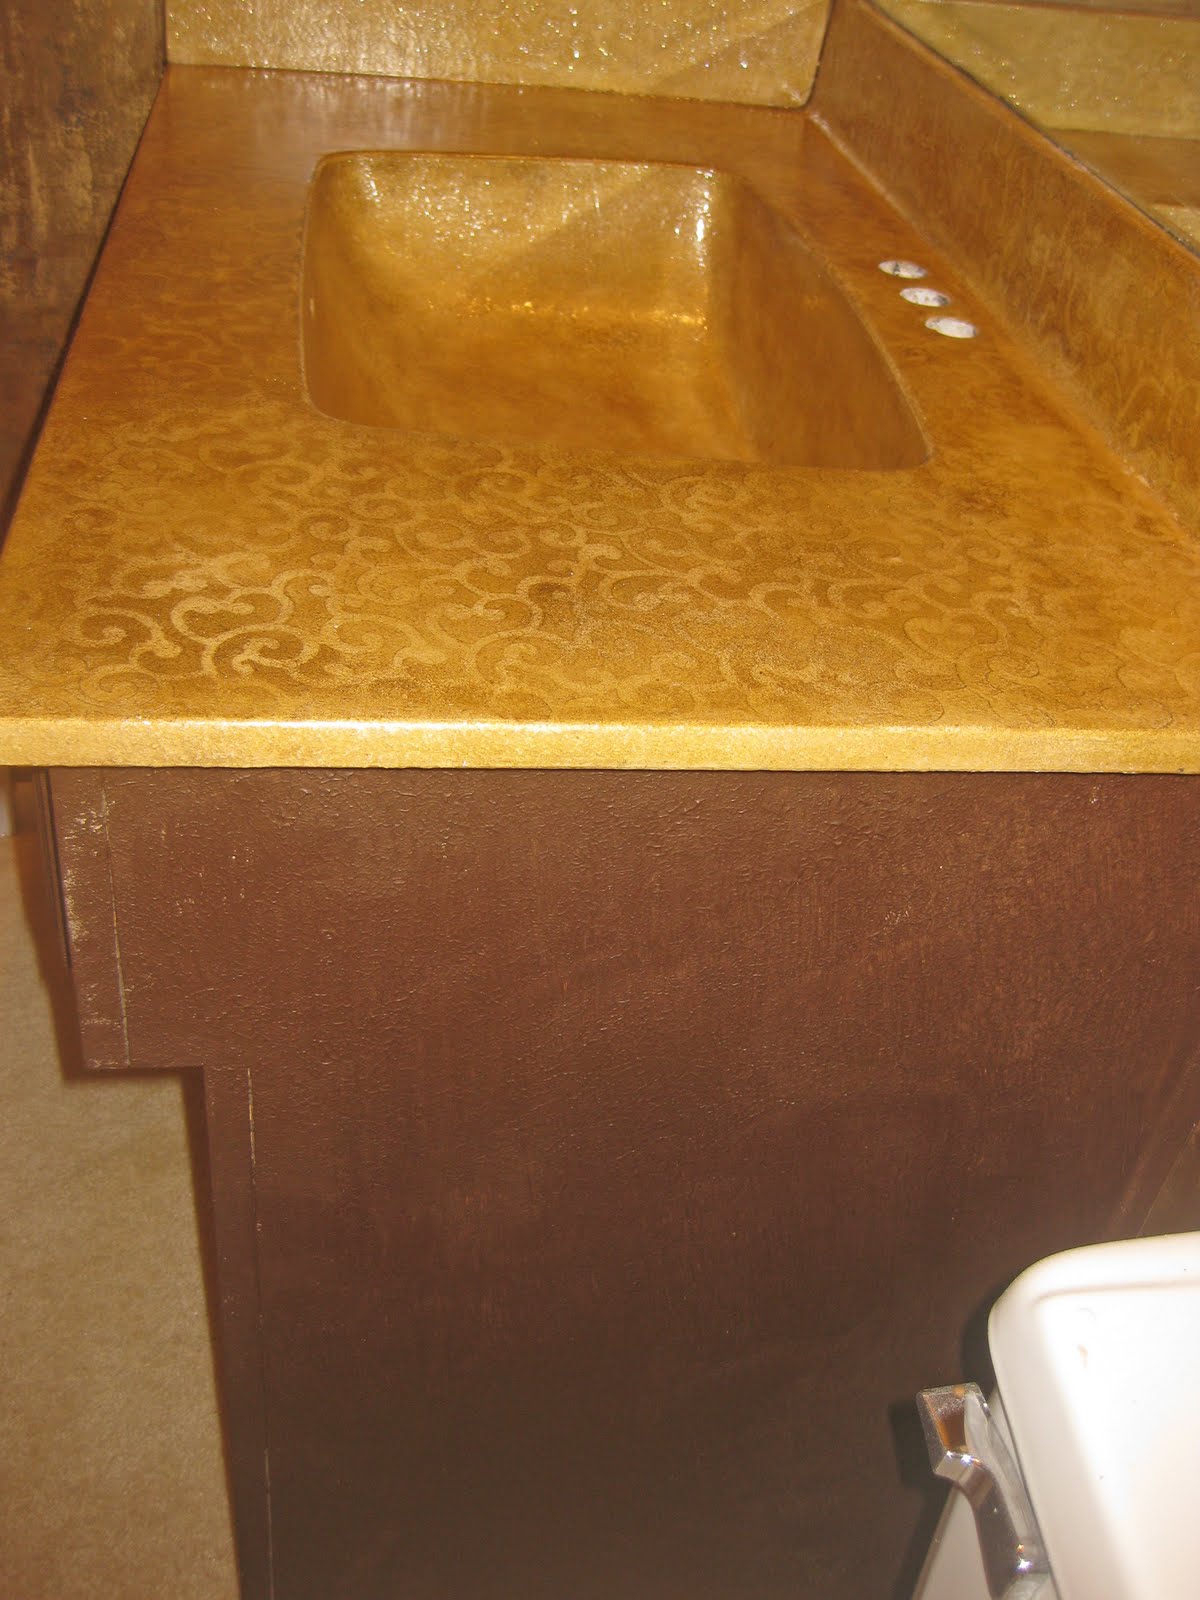
You can see the foil and brown layers better in this side view. I glazed the piece with Dark Brown Faux Color and American Walnut brushed on at the same time. When the glaze dried, I felt the tone clashed slightly with the wall finish. I brushed Bronze Stain and Seal 100% and softened with cheesecloth. Then I tipped the piece with Dark Brown Faux Creme Concentrate. These layers were completed in one day.
I rolled/brushed Aquaguard Gloss for my first topcoat, let it dry 1 hour, and then rolled/brushed a coat of C500 Dull. Since the wall and counter have a sheen, this needed to be a matte finish.
The greatest challenge to bath vanities is the drive time to complete the project. A cabinet this size may take only 30 minutes to 1 hour to complete each layer but you have dry time considerations. The job might be 5 hours and spread out over 3 days. I would always try to book the whole room or another project in the house-offering a package deal is worth a few bucks to on save wasted travel time.


Heya¡my very first comment on your site. ,I have been reading your blog for a while and thought I would completely pop in and drop a friendly note. . It is great stuff indeed. I also wanted to ask..is there a way to subscribe to your site via email?
ReplyDeleteBathroom Cabinets