
I think the previous owner was trying to warn me about the cabinets!
Seriously there were lots of weapons drawn inside our drawers. I hope the dog wasn't telling the kids to do it and thank goodness the family moved to Miami and not around the corner. And what is with that "jelly" thing in the corner? I guess I can't complain that client cabinets are gross.
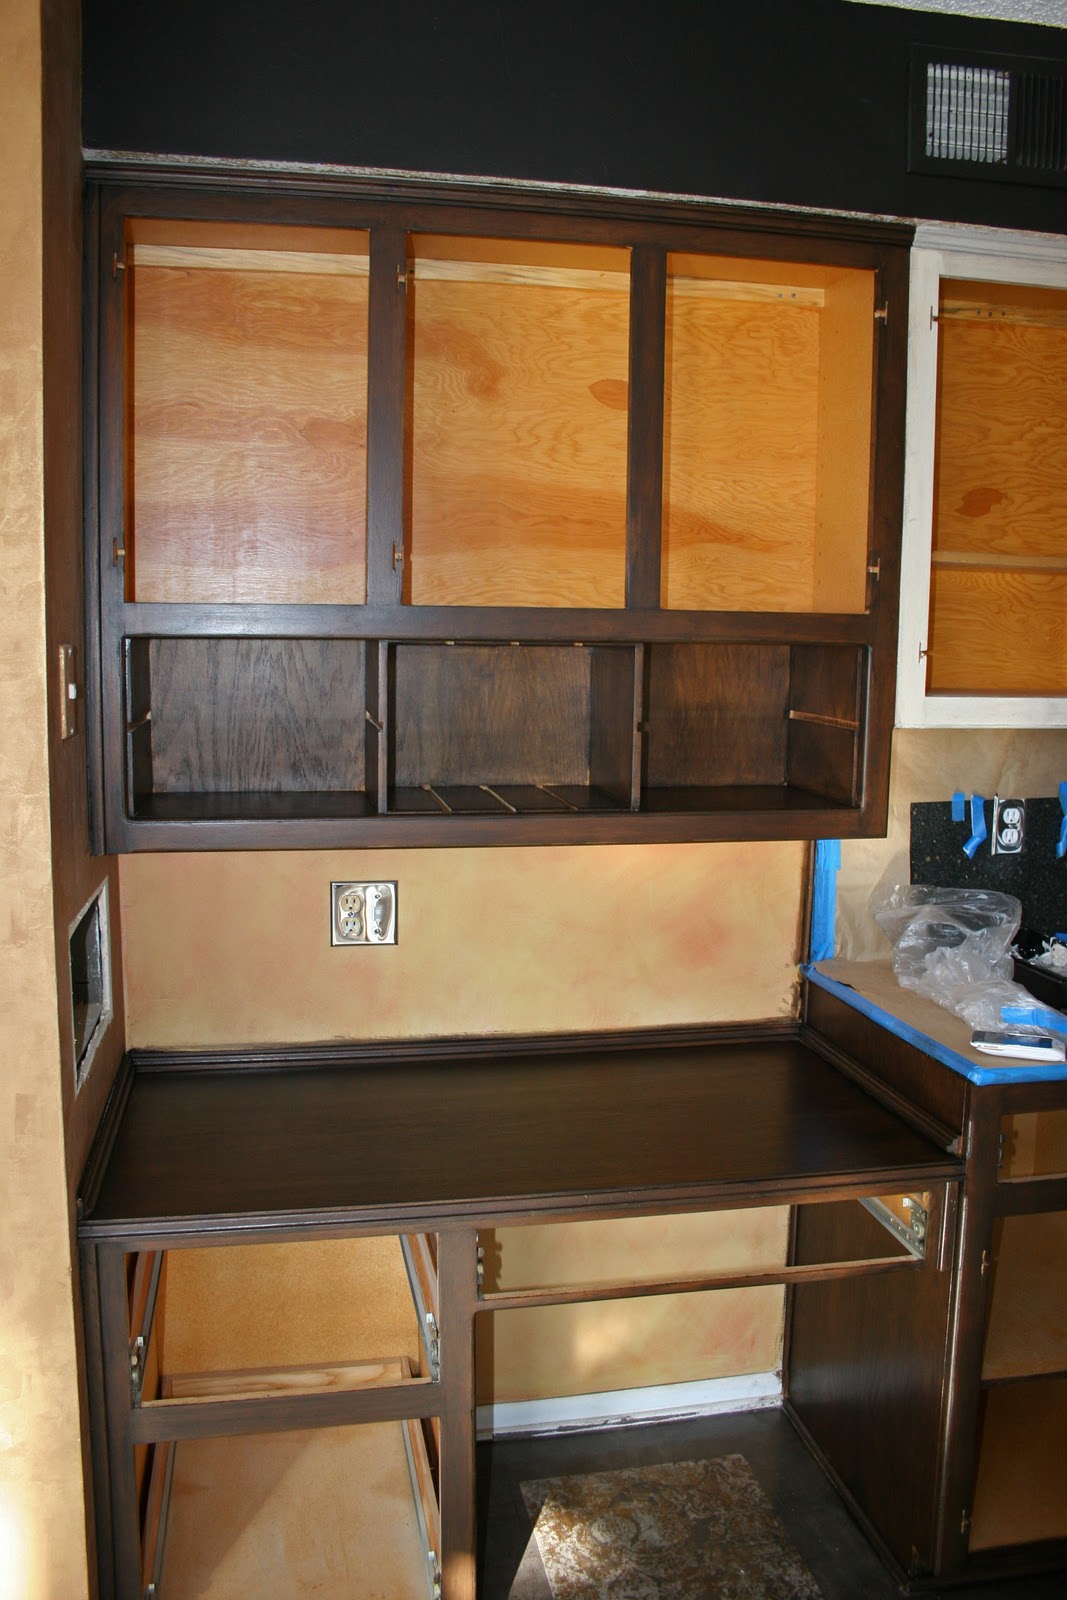
The day before Thanksgiving everything was going well with my project. All pieces had a nice even base stain.

Mistake Two: I didn't really examine the cabinet frames well before selecting my finishes. If I had, I would have noticed how uneven the original stain had worn and that my wood was bowed and cracked in places. Also, even with cleaning, a waxy residue was present in spots (our floor had the same thing). Maybe this is why her kids were so angry:

It's a hard knock life kiddies!
I decided to alter the finishes and do two separate but complimentary looks. By putting a tinted Pullstone around the one cabinet set I could cover the crazing but still leave the stained look I liked. The cabinets with the warping got a light texture and paint/glaze finish.
Finish One: The Kona Coffee ReStain with the Villa Hays on the rails & stiles.

I did a light sand and applied a warm silver/grey Fauxstone Pulloff to the original Kona stained door. Areas of the Fauxstone are removed with a paper towel to reveal some wood stain underneath. The same treatment was used on the drawer fronts.

Since the adjoining frames were getting a painted finish, the frames for these pieces needed to stay stained and not textured with the Fauxstone Pulloff. But the stain on the desk area was particularly uneven. We have a great sanding sealer that I tinted to my base stain and applied over the surface 100%.


The upper desk frames and lower cabinet frames are also finished in a similar fashion.

I applied my custom Espresso Stain over the custom Shaker Walnut (shown above). This rich stain is brushed and wiped back, letting more settle into the architecture.
The texture on the doors/drawers is stained with the same color I will use on the Pewter finish and then toned with the Espresso Stain used on the frames (shown above)-The stain is lighter on the Fauxstone and heavier on the center panels.

This is the finished desk and under cabinet areas:


I changed the hardware to a hammered iron handle and cup pulls for a rustic modern look.
Finish Two: Antique Pewter.
The other cabinets had warping issues and a few doors had split raised panels. I thinned Sandstone 50% with water and brushed the plaster over the primed wood. Using a chip brush gave a light linen look.


I painted the texture with a custom metallic silver Setcoat made from left over Designer Metallic, Royal Taupe Setcoat, Neutral White Setcoat, and Metal Glow.

No recipe and it didn't blow up. I did make enough to get the other half of the kitchen done.


Remember this is how the kitchen started. While I worked on the cabinets, I dumped all the junk we have collected for over 10 years. All the insides, shelves, and drawers were painted dark brown or dark grey, sealed with a gloss, and covered in new rubber mats with drawer organizers. I tried to throw away all cooking tools but Bruce said that was taking things a little too far.
Here is the after:


Reverse Osmosis Water Aquaguard Purifier in India, you need to know that which one Best. Too many water purifier available in the market. You should to confirm that your Reverse Osmosis Water Purifier built with UV
ReplyDelete
ReplyDeleteReally ,This is a wonderful post. I enjoyed the information lot. I will bookmark this page. Thanks for sharing this important information.CITY CABINET CENTER